A terracotta floor works well indoors — living room, hallway, entrance, bedroom and domestic kitchen — as long as it is treated before grouting. It is an open-pore ceramic: the terracotta we had tested absorbs 16.9 % water, so without a repellent the cement laitance and the first splash of oil sink into the pore and never come out again.
Inside a house the enemy is not frost but staining, and the order in which the work is done: where a terracotta floor belongs, exactly when it is treated, what you mop it with and what moves the budget. Outdoors, on patios and terraces, the deciding factors are water absorption and freeze-thaw, and they are a different subject.
Where does a terracotta floor work indoors and where does it cause trouble?
It works in dry rooms with steady foot traffic, which is where terracotta has been laid for centuries: living room, hallway, entrance, bedroom and kitchen. It causes trouble wherever there is permanent water or aggressive daily cleaning.
- Living room and bedroom. Its natural ground: across large surfaces the shade variation from tile to tile reads as a continuous rug, not as a defect.
- Hallway and entrance. They take traffic well; a long doormat at the door, holding back the grit from the street, extends the life of the sealer better than any product.
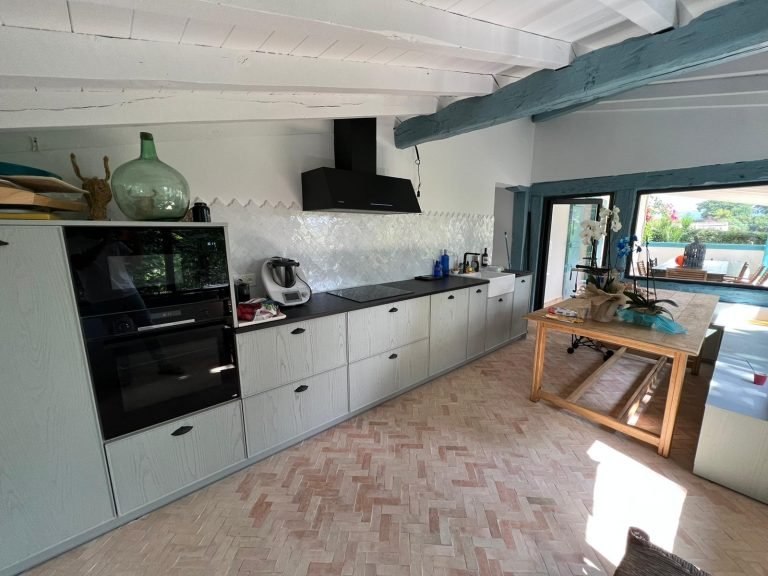
- Domestic kitchen. Yes, with one condition: the treatment has to be water and oil repellent, because what stains a kitchen is grease, not water.
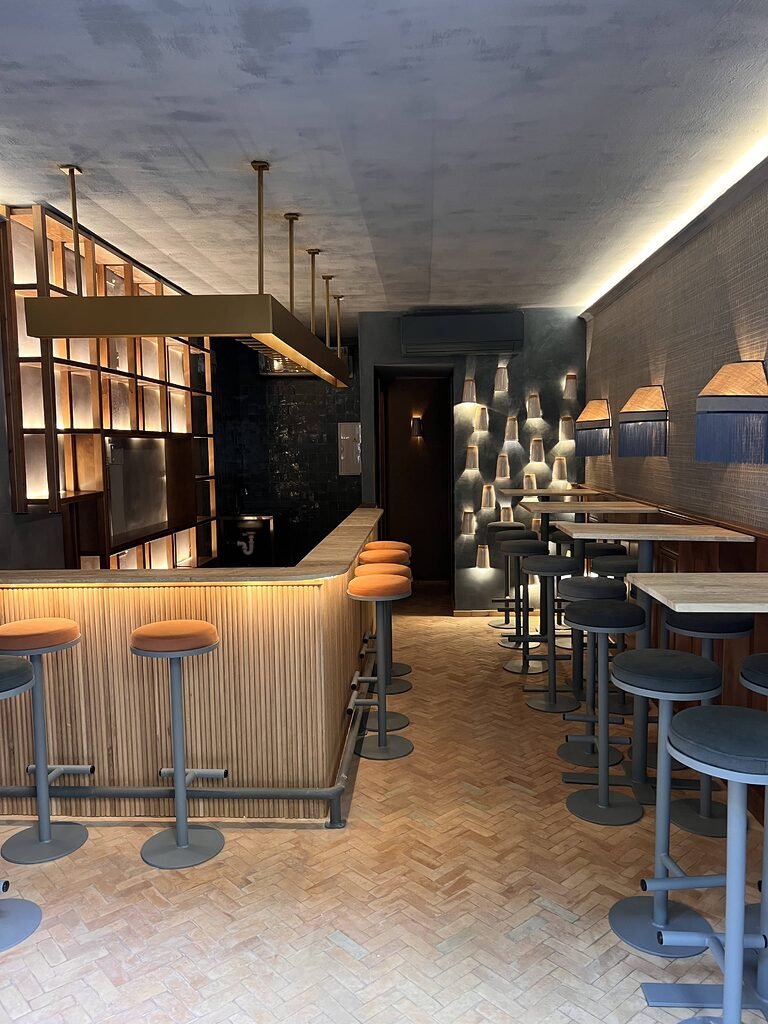
- Shops and hospitality. Terracotta is suitable for public and commercial spaces; what changes is how often it is maintained, not the material.
- Permanently wet areas. A shower tray or a washroom hosed down every day is no place for a material with almost 17 % absorption; talk to us before you buy.
Why does terracotta stain if it is not treated before grouting?
Because grout is water carrying fine cement particles and terracotta is open pore. Grout over the bare tile and the whitish haze stays inside: mopping will not lift it, you need acid, and acid takes the colour with it.
This is not an impression, it has been measured. These are the results of test report no. 7539 from the Elabora laboratory (sample taken on 13/05/2022, format tested 150 × 50 × 15 mm) on the terracotta from our workshop. The UNE-EN ISO standards quoted are the Spanish version of the European EN ISO 10545 series.
| Test | Terracotta result | Standard | What it means inside a house |
|---|---|---|---|
| Water absorption | 16.9 % (mean coefficient) | UNE-EN ISO 10545-3 | It takes in water, oil and grout for as long as it is untreated |
| Stain resistance | Class 2 | UNE-EN ISO 10545-14 | The stain comes out with a solvent, not with soap and water |
| Chemical resistance | Classes UA, ULA and UHA with no visible effect | UNE-EN ISO 10545-13 | The fired tile stands up to acids and alkalis; the treatment on top of it does not |
For scale, porcelain stoneware does not reach 0.5 %. With a pore like that the strategy is not to clean better, but to stop the stain getting in. Frost resistance and the slip class required by the Spanish Building Code (CTE) govern outdoor floors, not a living room, and are outside the scope of this article.
Hence a rule with no exceptions: never use pigmented grout on terracotta. The pigment penetrates the tile and the stain is irreversible; use white grouting cement, which is what we recommend for this material.
What is the right order for laying, treating and grouting?
The order that avoids almost every disaster is: lay, protect, grout, dry and then treat in depth. The expensive mistake is the opposite one: grouting over the bare tile and sealing weeks later, when the haze is already inside.
- Mix tiles from several boxes. Every tile is made by hand from Moroccan clay and varies in shade, thickness and shape: laying box by box produces patches of colour.
- Check the substrate: the screed must be dry, flat and clean. If it is still giving off moisture, no treatment will last.
- Lay with flexible tile adhesive and butter both faces: the handmade back is irregular and any voids end up cracking the tile.
- Leave a joint of 3 to 5 mm depending on the format. A zero joint is not an option with handmade tiles.
- Wait for the adhesive to set before walking on it: premature traffic pushes the layout out of line.
- Apply the protector before grouting. With the surface dry and clean, one coat of water-repellent impregnator on the face of the tile stops the grout entering the pore. This is the step most people skip.
- Grout with white grouting cement and clean it off while fresh, with a sponge and clean water, changing the water often.
- Let the whole floor dry: weeks, not days. The water in the mortar has to come out through the pore of the terracotta before you close it.
- If any haze is left, use a cement remover. Diluted as per the manufacturer’s data sheet, area by area and rinsed with plenty of clean water. Never on a floor that has already been waxed.
- Final treatment: water repellent and stain repellent and, if you are after the traditional look, wax on top.
How long do you have to wait before sealing?
There is no universal figure: it depends on the thickness of the screed, the ventilation and the time of year. The reliable check is the plastic-sheet test: tape down a sheet of about 50 × 50 cm and leave it for 24 hours. If there is condensation when you lift it, or the tile has darkened, the substrate is still damp. Sealing over damp traps the water underneath and the treatment lasts weeks.
Which treatment should you choose: repellent, wax or oil?
Two things are combined: a product that closes the pore from within and, if you want it, a finish that gives the look. At Demosaica we recommend a water- and stain-repellent treatment during installation; the finish is an aesthetic decision.
| Treatment | What it does | Look | Renewal | Points to bear in mind |
|---|---|---|---|---|
| Penetrating water and oil repellent | Closes the pore from within, leaves no film | Natural or slightly enriched | When water stops beading | The essential base; it also protects against grease |
| Natural or liquid wax | Sacrificial layer on the surface | Warm satin, deeper tone | Topped up while mopping, every few months depending on traffic | Builds up dirt over the years; a full renewal means stripping it |
| Traditional oil or soap | Saturates the pore and feeds the tile | Deep matt, darkens the terracotta | Frequent in the first months | Yellows over time and offers little protection against grease |
| Varnish or film-forming sealer | Plastic film on top of the tile | Artificial, uniform gloss | When it scratches or peels off | Not recommended: it lifts in patches and repairing it means stripping the whole floor |
If you are torn between leaving the terracotta bare and treating it, decide before grouting, because that is when the pore is still open: bare terracotta ages into a patina and takes the stains that come with it, while a treated floor keeps its colour in exchange for renewing the protection from time to time.
Which formats and layouts work best indoors?
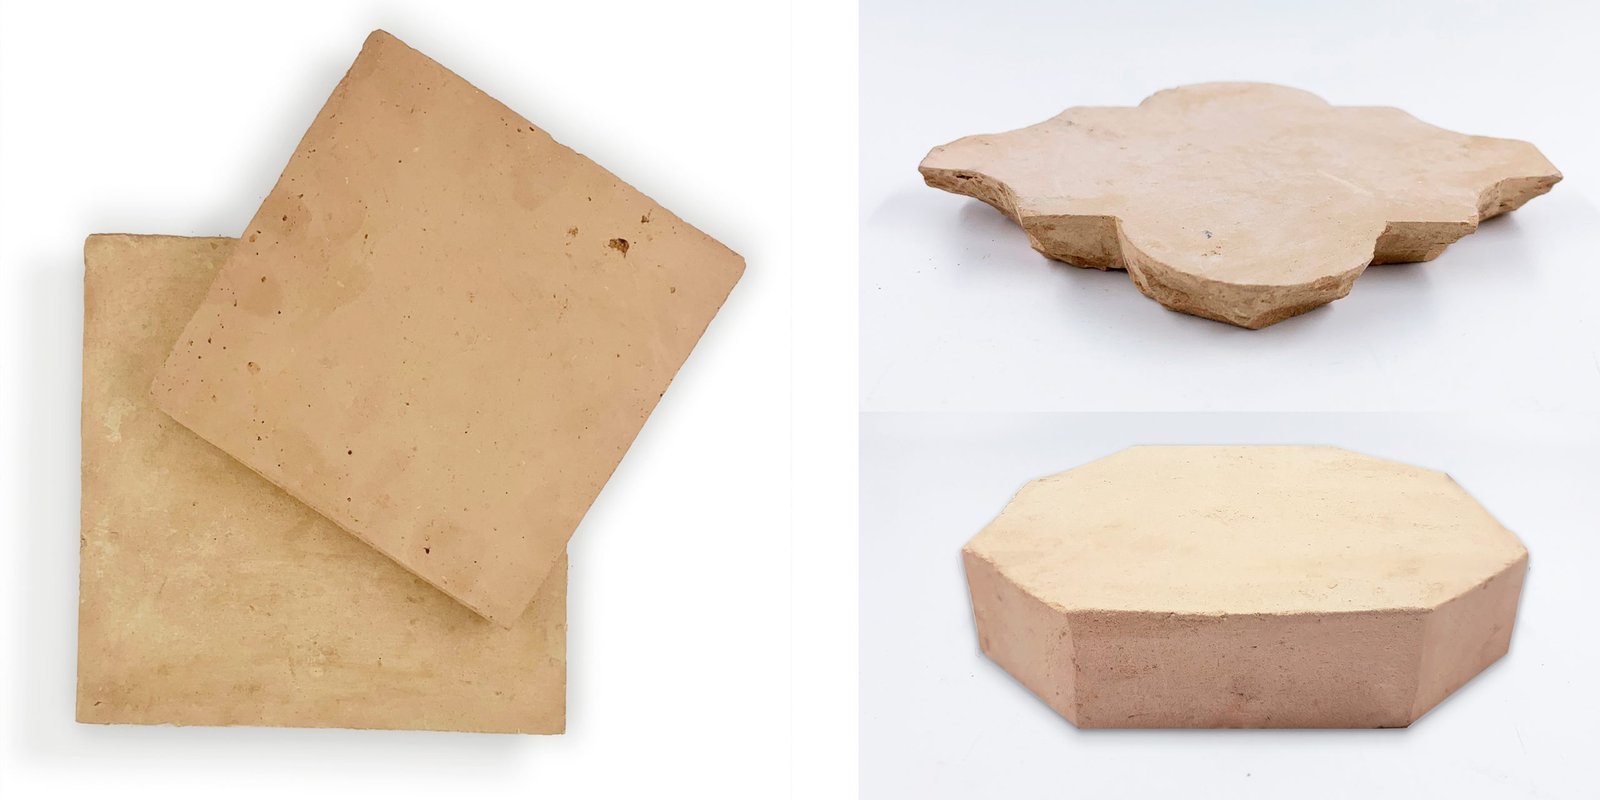
The scale of the room decides: small pieces in herringbone for hallways and kitchens, large formats for living rooms. These are the catalogue formats and the number of tiles per square metre.
| Format | References | Tiles per m² (calculated on the nominal size) | Where it fits indoors |
|---|---|---|---|
| 30 × 15 cm | BB16 | 23 | Large living rooms; less joint on show |
| 20 × 20 cm | BB21 | 25 | Classic continuous floor, easy to set out |
| 20 × 10 cm | BB13 | 50 | Mid-scale herringbone or brick bond, ideal in hallways |
| 15 × 15 cm | BB02, BB05, BB22, BB31 | 45 | Chequerboard with a small insert or an alternating white tile |
| 15 × 5 cm | BB11 | 134 | Fine Moroccan-style herringbone; more labour |
| 10 × 10 cm | BB03, BB06, BB23 | 100 | Small rooms, rug panels and borders |
The tiles per square metre are a geometric calculation on the nominal size, with no joint: with a joint of 3 to 5 mm the real figure comes down slightly, so confirm the count and the wastage with the workshop. At either end sit the 15 × 5 cm, the format taken to the test in report 7539, and the 20 × 20 cm for continuous surfaces.
How do you clean and maintain a terracotta floor indoors?
With little water, pH-neutral soap and quick drying. The routine for a treated terracotta floor is simpler than its reputation suggests, as long as nothing aggressive is used.
- Every day: sweep or vacuum. Taking away grit and dust is what protects the treatment most, because underfoot they act as an abrasive.
- Every week: a well-wrung mop with warm water and pH-neutral soap. Never flood the floor: standing water soaks in and leaves a tidemark.
- To keep the tone: dissolve a small amount of natural waxes in the mopping water, which is what we recommend for our terracotta.
- Never: bleach, ammonia, spirits of salt, vinegar or any acidic or abrasive cleaner. Here is the nuance almost nobody explains: the fired tile stands up to those products in the laboratory, but the treatment on top of it does not. What bleach destroys is not the terracotta: it is the protection you paid for.
What to do about the most common stains
Act while it is fresh: blot the spill with paper without rubbing — rubbing spreads it and pushes it into the pore — and clean with a pH-neutral degreaser. If the oil is already in, the test points the way: class 2 means it comes out with a solvent, applied as an absorbent poultice, covered and left to work. Always try it first on a spare tile.
How often the treatment has to be renewed
Not by the calendar but by behaviour: drop a little water on the busiest areas. If it beads, the repellent is still working; if the tile darkens within seconds, it is time to renew it. In a home that moment arrives much later than in a commercial space. Compare it with the routine for a cement tile floor, which is not fired ceramic but cement and calls for a different approach.
Can terracotta be laid over underfloor heating?
Yes. Terracotta conducts heat well and is one of the floor finishes that gets on best with underfloor heating. For that particular case we recommend a joint of 3 to 4 mm, within the 3 to 5 mm range we give for every other installation.
One note on use: bring the temperature up gradually the first time, with the mortar already completely dry. Terracotta takes longer to warm up than a laminate, but it then holds the heat for far longer.
What moves the price of an indoor terracotta floor?
The material is only part of it: labour and treatment weigh as much as the tile itself.
- The format. A square metre in 15 × 5 cm means 134 pieces laid one by one; in 20 × 20 cm it means 25.
- The layout. Herringbone, a chequerboard with inserts or borders push up the setting out, the cutting and the wastage.
- The treatment. Product plus application, at two points in the works: before grouting and at the end.
- The substrate. Lifting the old floor or levelling it almost never gets priced at the start.
- Volume and transport. Terracotta is heavy and fragile: carriage and packing count.
As an industry benchmark, the Spanish CYPE price generator puts the direct cost of an indoor floor of machine-made 10 × 10 cm terracotta, laid on a thick mortar bed and with labour included, at €46.70/m². That is an industrial tile in a small format: a handmade tile plays in another league. The figure for your project comes with the quotation.
Frequently asked questions about terracotta floors indoors
Is treated or untreated terracotta better inside a house?
In a house, treated. Untreated, terracotta is a material with 16.9 % absorption living underneath a kitchen, a few plant pots and everybody’s shoes: the first oil stain stays for good. Untreated terracotta makes sense in specific uses where natural ageing is what you are after and the patina is accepted, stains included.
Can you lay a terracotta floor in the kitchen?
Yes, and it is one of its best destinations for temperature and looks, always with a treatment that is oil repellent as well. In a kitchen the enemy is not water, it is grease: it falls hot, penetrates fast and only comes out with a solvent. Wiping up spills as they happen solves most cases.
How long after laying can the floor be sealed?
As long as the whole floor takes to dry out completely, which is weeks rather than days, depending on the thickness of the screed, the ventilation and the season. The way to check is the plastic-sheet test: a sheet taped down for 24 hours. If condensation appears or the tile darkens, the substrate is still damp and you have to wait.
Can terracotta be mopped with bleach, vinegar or spirits of salt?
No. The fired tile resists acids and alkalis in the laboratory test, but the repellent and the wax on top of it are destroyed by those products, and the protection against stains goes with them. Warm water, pH-neutral soap, a well-wrung mop and quick drying; for anything else, products made specifically for terracotta.
What joint and what grout should be used with terracotta?
A joint of 3 to 5 mm depending on the format, and of 3 to 4 mm when the floor sits over underfloor heating. The grout, always white grouting cement: we rule out pigmented grout on terracotta because the pigment gets into the pore and the resulting stain is irreversible.
How many terracotta tiles do you need per square metre?
It depends on the format: 134 pieces in 15 × 5 cm, 100 in 10 × 10, 50 in 20 × 10, 45 in 15 × 15, 25 in 20 × 20 and 23 in 30 × 15. These are geometric calculations on the nominal size, with no joint. To that you have to add the wastage of the layout, which is higher in herringbone than in straight laying.
See the formats and the two collections on our terracotta tiles page and the material in place in the terracotta photo gallery. Once you have settled on the square metres, the format and the layout, write to the workshop and we will pin down samples, quantities and lead times.