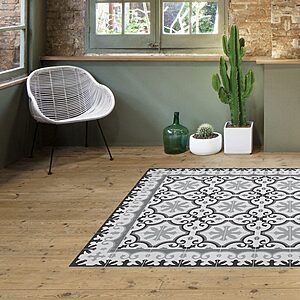
Making a cement tile table — or a headboard, or a worktop — comes down to bonding the tiles to a rigid board with a flexible tile adhesive, grouting with narrow joints and sealing the surface before it is used. It works very well on tables, headboards and bathroom furniture; on kitchen worktops it calls for epoxy grout and regular resealing.

What do you need to sort out before covering furniture with cement tiles?
Four things, and none of them is about looks: weight, substrate, edge and sealing. If one of them fails, the problem shows up within the first month and is usually irreversible.
The cement tile we make in our own workshop is not ceramic: it is not fired but wet-pressed and then left to cure. It has a wear layer a few millimetres thick — cement, marble dust and pigment — on a mortar base, with a total thickness of 1.5 to 1.8 cm in our formats.
That has two consequences for furniture: the colour is in the body of the material, so a cut edge does not give away a pattern that is merely printed on, as it would on decorated porcelain; and the top gains almost two centimetres in thickness, a good many kilos and an exposed cement edge.
How much does a tabletop covered in cement tiles weigh?
Between 31 and 41 kg per square metre for the tiles alone in the usual formats, plus the adhesive, the grout and the board. That is the figure that decides whether the structure will hold.
| Format | Ref. | Size | Weight/piece | Units/m² | Approx. weight/m² |
|---|---|---|---|---|---|
| Square | H02 | 25 × 25 × 1.8 cm | 2.30 kg | 16 | 36.8 kg |
| Square | H03 | 20 × 20 × 1.5 cm | 1.30 kg | 25 | 32.5 kg |
| Rectangular | H13 | 20 × 10 × 1.5 cm | 0.62 kg | 50 | 31.0 kg |
| Hexagonal | H22 | 23 × 20 × 1.5 cm | 1.16 kg | 29 | 33.6 kg |
| Hexagonal | H23 | 11.5 × 10 × 1.5 cm | 0.35 kg | 116 | 40.6 kg |
| Tile insert | H07 | 7 × 7 × 1.5 cm | 0.25 kg | 205 | ≈ 51 kg |
The weight per m² is the weight of one tile multiplied by the units per m² in our list of formats; with very small tiles, rounding inflates it slightly. Applied to furniture, using the 20 × 20 cm square (H03):
| Furniture | Surface area | 20 × 20 cm tiles | Weight of the tiles alone |
|---|---|---|---|
| Side table 60 × 30 cm | 0.18 m² | 4 and a half (one cut) | ≈ 6 kg |
| Coffee table 80 × 80 cm | 0.64 m² | 16 (4 × 4) | ≈ 21 kg |
| Bathroom vanity top 100 × 60 cm | 0.60 m² | 15 (5 × 3) | ≈ 20 kg |
| Dining table 160 × 80 cm | 1.28 m² | 32 (8 × 4) | ≈ 42 kg |
| Headboard 160 × 100 cm | 1.60 m² | 40 (8 × 5) | ≈ 52 kg |
| Bar or counter 240 × 60 cm | 1.44 m² | 36 (12 × 3) | ≈ 47 kg |
A 160 × 80 cm dining table carries about 42 kg in tiles alone: that rules out thin tops on lightweight fittings and calls for a perimeter frame, cross rails roughly every half metre and legs that can take that load.
Which tile format should you choose for each piece of furniture?
Choose the format by the layout, not by taste: measure the piece and look for the tile size that goes into it a whole number of times, or with a symmetrical cut. On a piece of furniture, the whole surface is seen at once.
- Dining tables, bars and counters: the 20 × 20 cm (H03) or 25 × 25 cm (H02) square: a large pattern and an easy layout.
- Coffee tables and side tables: 15 × 15 cm (H04), 14 × 14 cm (H05) or 10 × 10 cm (H06), which keep the pattern in proportion.
- Headboards and vertical panels: the 23 × 20 cm (H22) or 30 × 20 cm (H21) hexagon, which breaks up the grid.
- Frames and edgings: the 7 × 7 cm tile insert (H07) and border tiles, to frame the central field.
- Edge of the top: the plain HR01 skirting tile, 20 × 10 cm, finishes it in the same material.
Shaped tiles interlock into a continuous weave: the Chakar model (H61, 20 × 17 cm, 50 tiles per m²) makes a top with a far more textile feel than a square grid.

An honest word of warning: a table needs very few tiles. Before ordering a custom design — which involves a minimum order and several weeks of production — look at the catalogue of cement tiles in stock, which can be supplied in small quantities. Check lead times and minimums with the workshop.
How do you make a cement tile table, step by step?
Nine steps: a stable substrate, a dry layout, wet cutting, back-buttering, a 1.5 to 2 mm joint, grouting, edge finishing, drying and sealing. DIY tutorials skip three of them, and those are precisely the ones that make the piece last.
- Choose the substrate. Phenolic plywood or moisture-resistant board, 18–20 mm minimum, or better still a cement backer board screwed over the old top. Raw chipboard and untreated MDF soak up the water in the tile adhesive, swell and lift the tiles.
- Set out the layout dry. Lay the tiles without adhesive, with the spacers in place, and centre the pattern. Cement tile is a handmade product: shade and calibre vary, so mix material from several boxes.
- Cut with a water-cooled diamond blade. Cutting dry raises a cloud of dust and chips the edge of the wear layer.
- Apply a primer or bonding agent if the adhesive manufacturer specifies one for timber or cement board.
- Bond with a flexible C2 tile adhesive (S1 or S2), the type made for substrates that move, and back-butter: notched trowel on the board and a thin coat on the back of each tile. A void under one corner is a cracked tile the day someone leans an elbow on it. No grab adhesive and no PVA glue.
- Leave a joint. Never butt the tiles together: 1.5 to 2 mm with spacers. The joint absorbs expansion, lets the water in the adhesive evaporate and makes up for the tolerances of a handmade tile. Butted tight, the edges chip on their own.
- Grout the next day with a fine cement-based grout, or epoxy if the piece is going to get wet, and wipe off straight away with a damp sponge. With dark grout on light tiles, protect the surface first: cement is porous and takes the stain.
- Finish the edge. A flush timber lipping, an aluminium or brass trim, a skirting tile, or the edge itself sanded and sealed. That is what separates a piece of furniture from a bodge job.
- Wait, then seal. The whole piece has to lose the moisture from the adhesive and the grout before the water-repellent goes on. If you seal on the same day, you trap the water and get white hazing or dark patches that never go away.
The procedure is the same as for a floor, apart from the substrate and the edge; the details are in our guide to laying cement tiles.

How do you make a cement tile headboard?
There are two routes: tile the section of wall behind the bed, or build a freestanding panel that rests on the floor and is anchored to the wall. A panel goes with you when you move; tiling the wall gives complete continuity, but it means building work.
Once again, weight is the deciding factor. A 160 × 100 cm headboard in the 20 × 20 cm format means 40 tiles and about 52 kg of tiles alone. A panel like that is not hung with grab adhesive or a couple of wall plugs: it needs mechanical fixings and, if the partition is plasterboard, internal reinforcement or support from the floor. It sits right above the sleeper’s head, so this is no place to improvise.
A height of 100 to 120 cm from the floor is right for a 150 or 160 cm bed. A patterned field framed with plain tiles or a border works well, and it avoids cutting tiles in half. In small bedrooms, go for soft shades from the MC1–MC49 colour chart and save black-and-white contrasts for large areas. As a bonus, the headboard protects the wall from cushions rubbing against it.
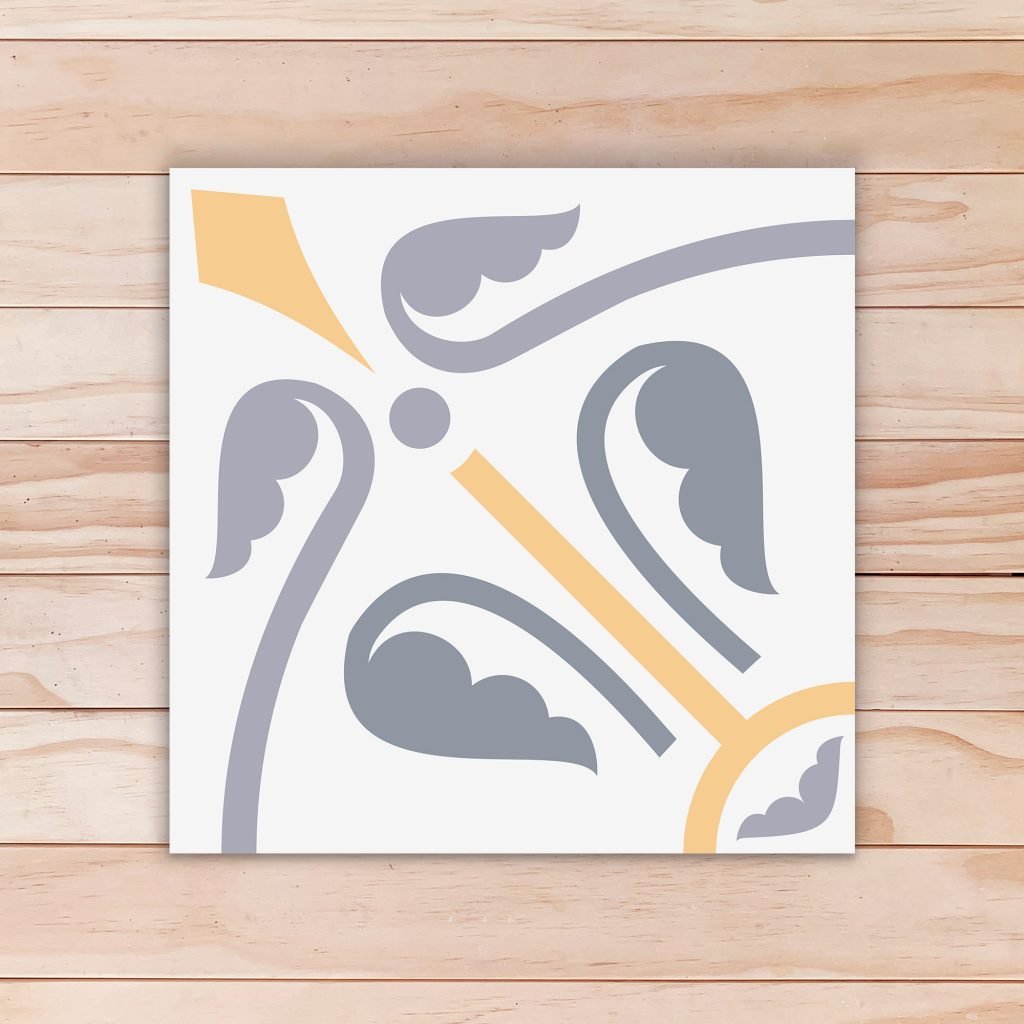
Is a cement tile worktop a good idea?
Yes in bathrooms, on bars, decorative islands and counters; with reservations in the work zone of a kitchen, between the hob and the sink. It is not a matter of taste but of porosity and chemistry. These are the absorption figures measured in our laboratory test reports. Hydraulic terrazzo is the closest reference to cement tile: both are concrete tiles, tested under UNE-EN 1339 (the Spanish version of EN 1339), not ceramics.
| Material | Average absorption | Method | Test report |
|---|---|---|---|
| Hydraulic terrazzo 20 × 20 cm | 5.9 – 6.2 % | UNE-EN 13748-1 | no. 4718 |
| Glazed zellige 10 × 10 cm | 15.7 % | UNE-EN ISO 10545-3 | no. 9103 |
| Terracotta 15 × 5 cm | 16.9 % | UNE-EN ISO 10545-3 | no. 7539 |
For context, porcelain stoneware is below 0.5 %. A cement-based material with 6 % absorption does not repel water: it lets it in slowly and relies on the surface treatment. With the water-repellent in good condition and spills wiped up promptly, oil and wine never reach the body of the tile; once the sealer has worn, they do.
The other threat is acids: lemon, vinegar, limescale removers and degreasers attack cement and leave a dull ring, and no amount of extra cleaning will fix that. If you still want the worktop, the only defensible approach is to use epoxy grout — type RG under UNE-EN 13888 — which does not absorb grease, and never to cut directly on the surface.
The sensible approach in a hard-working kitchen is to split the roles: a continuous worktop in the sink and hob zone, and cement tiles on the splashback, the island or the floor, where they look just as good and suffer far less (there are examples in our ideas for kitchens with cement tiles). On a bathroom vanity they are more than up to the job: brief wetting, no acids and no knives.
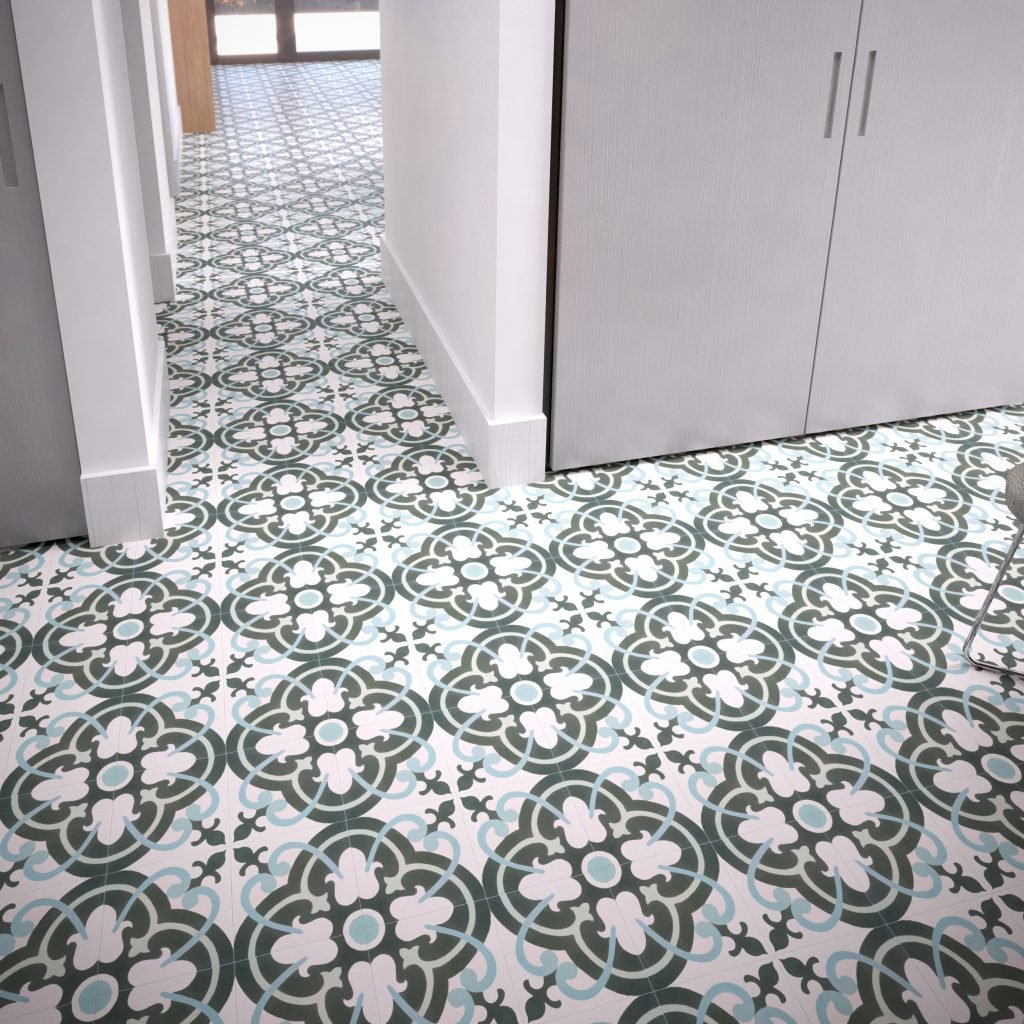
How do you clean and look after cement-tiled furniture?
Lukewarm water and pH-neutral soap. All the maintenance comes down to not attacking the cement and renewing the treatment before it wears off.
- Off limits: hydrochloric acid, vinegar, limescale removers, descaling cleaners and ammonia. Any acid eats into the wear layer.
- Seal before the piece is first used, not after the first accident: the water-repellent closes the pores, and wax adds sheen and a sacrificial layer.
- Check the treatment when a drop of water no longer sits on the surface and darkens the tile instead.
- Use felt pads or coasters under plant pots and vases: standing water stains more than a spill.
- Repair tile by tile: the broken tile is chiselled out and replaced without touching the rest. Keep two or three spare tiles from the same batch.
The products and how often to reapply them are covered in our guide to cement tile floor care and maintenance, which applies equally to a tabletop.
Which mistakes ruin cement tile furniture?
Always the same seven, and all of them are made before the piece is ever used: the wrong substrate, the wrong adhesive, no joint, rushing the sealing and an unfinished edge.
- Butt-jointing the tiles “so the joints don’t show”: the edges chip.
- Using raw chipboard or MDF as the substrate, or a top under 15 mm thick that flexes.
- Bonding with grab adhesive, silicone or PVA glue instead of flexible tile adhesive.
- Sealing on the same day as grouting and trapping the moisture in the tile.
- Grouting light tiles with dark grout without protecting the surface.
- Leaving the edge unfinished: the exposed mortar edge gives the piece away.
- Ordering a custom design for six tiles when stock tiles would have made the same top.
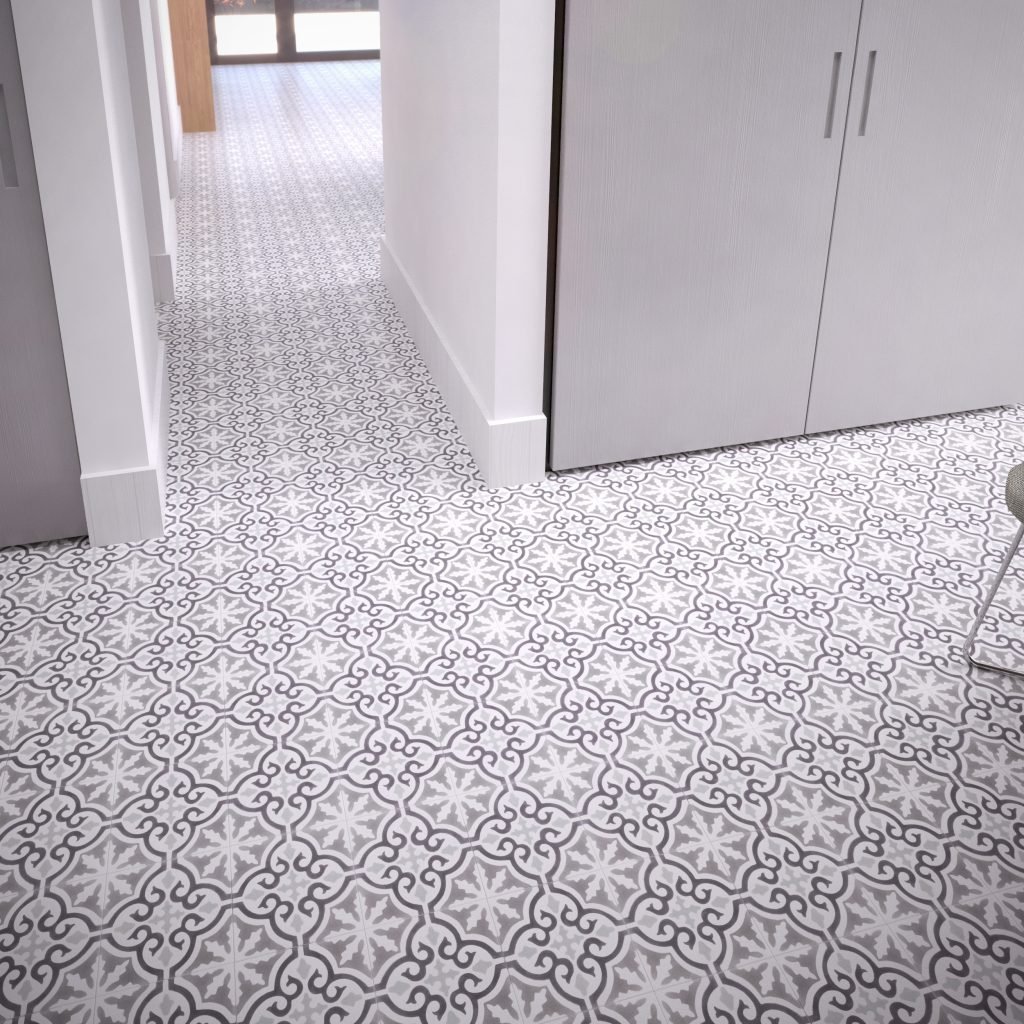
Frequently asked questions about cement tile furniture
How many tiles do I need for a table?
In the 20 × 20 cm format there are 25 tiles per square metre: 16 for an 80 × 80 cm coffee table, 32 for a 160 × 80 cm dining table and 15 for a 100 × 60 cm bathroom vanity top. Add 10 % extra for cuts and future repairs.
Can cement tiles be bonded onto an old wooden table?
Yes, if the top is stable and can take the weight. Veneered chipboard and tops under 15 mm thick flex and end up debonding the tiles. The safe option is to screw a cement board or 18–20 mm phenolic plywood on top and bond the tiles to that substrate.
Will a cement tile table hold up in a courtyard or on a terrace?
The tile will; the weak points are a timber substrate and frost. In courtyards and on covered terraces in mild climates it works with the surface sealed and a non-organic substrate. Where it freezes often, water held in the pores expands as it freezes and bursts the tile from within.
Will oil or wine stain the table?
That depends on the treatment, not on the pattern. Cement is porous: our 20 × 20 cm hydraulic terrazzo gave an average absorption of 5.9 to 6.2 % in test report no. 4718. With the water-repellent in good condition and prompt cleaning, no mark is left; once the sealer has worn, oil soaks in.
Can I mount a cement tile headboard on a plasterboard wall?
Not directly. A 160 × 100 cm panel comes to around 52 kg in tiles alone, and plasterboard will not take that load on ordinary wall plugs. It has to be anchored to internal reinforcement or to a masonry wall, or stood on the floor and braced against the wall.
Is there a minimum order if I only want tiles for one piece of furniture?
For custom designs, yes: there is a minimum order and a production lead time, because every tile is pressed and cured one at a time. For a table or a headboard, the practical option is to draw on the stock catalogue, which is supplied in small quantities. Check minimums and lead times with the workshop.
Always start with the layout: measure the surface and choose the format that fits in whole tiles. To see and feel the material, request samples or book a visit to the showroom through our contact page.