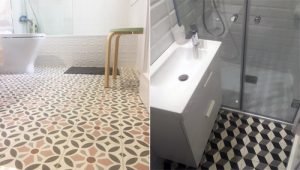
Cement tiles are laid on a level, clean and completely dry substrate, using flexible tile adhesive applied by back-buttering (double spreading) and 1 to 2 mm joints; each tile is levelled by hand, never knocked into place. The floor is then washed with water, grouted with unpigmented grout and, once the construction moisture has evaporated, protected with a water-repellent impregnator.
What should you know about cement tiles before laying them?
A cement tile is pigmented cement pressed cold: it is not fired, it sets. Its visible face is a layer of white cement, marble powder and pigments just a few millimetres thick, on a base of cement and sand. It is porous, thick and heavy, and it cannot be polished; almost every rule that follows stems from this.
It is tested to EN 1339 (UNE-EN 1339 in Spain), the standard for concrete paving flags, not as a ceramic tile. We publish our laboratory test reports in full: the one for cement tiles is report no. 9102, on a 200 × 200 × 15 mm tile, issued by Elabora (laboratory no. AND-L-155 of the Junta de Andalucía, the Andalusian regional government). Hydraulic terrazzo, part of the same cement-based family, returned a water absorption of 5.9–6.2 %, compared with less than 0.5 % for porcelain stoneware.
Thickness ranges from 1.5 to 1.8 cm, and a square metre weighs between 28 and 41 kg depending on the format, not counting the adhesive: this matters on lightweight floor structures and on walls.
| Format | Ref. | Size (cm) | Weight/piece | Pieces/m² | Approx. weight/m² |
|---|---|---|---|---|---|
| Square | H02 | 25 × 25 × 1.8 | 2.30 kg | 16 | 36.8 kg |
| Square | H03 | 20 × 20 × 1.5 | 1.30 kg | 25 | 32.5 kg |
| Square | H04 | 15 × 15 × 1.5 | 0.79 kg | 45 | 35.6 kg |
| Rectangular | H13 | 20 × 10 × 1.5 | 0.62 kg | 50 | 31.0 kg |
| Hexagonal | H22 | 23 × 20 × 1.5 | 1.16 kg | 29 | 33.6 kg |
| Chakar | H61 | 20 × 17 × 1.5 | 0.58 kg | 50 | 29.0 kg |
The full table is on the cement tile formats page.
How do you level and prepare the floor for cement tiles?
The substrate must be flat, sound, clean and dry all the way through: under a 2 m straightedge there should be no deviation greater than 3 mm. Cement tiles are never laid on a screed or a cement fill that is still fresh.
Flatness matters more than with other floors because this tile is not ground flat after laying: every millimetre out ends up as lippage. If the deviation is more than 3 mm, correct it with a self-levelling compound.
Moisture is the other enemy: if the screed is still damp, that water will evaporate through the tile and leave white efflorescence stains. A cement screed takes weeks to dry, not days; if in doubt, measure its moisture content before applying the adhesive.
Before you open the first box, sort out these points:
- Available height. The tile (1.5–1.8 cm) and the adhesive bed together take up about 2.5 cm: check doors and thresholds.
- Perimeter and movement joints. A gap between floor and wall, to be covered by the skirting, and movement joints in large areas, at thresholds and over structural joints.
- Wet areas. A continuous waterproofing membrane and falls towards the drain.
- Material. Work out the number of tiles with the format table and add 5–10 % for wastage.
How do you lay cement tiles step by step?
Dry setting-out, back-buttering, bedding each tile by hand with a 1 to 2 mm joint, wet cutting and a wash with water at the end. This is the order:
- Set out the pattern dry. Find the centre of the room or the axis of the entrance, mark two lines at right angles and lay tiles out without adhesive to see the rhythm of the pattern and the real joint. Mix tiles from several boxes: that way the variations in shade are spread out.
- Prepare the adhesive. Flexible C2 S1 tile adhesive to EN 12004; spread only the area you can cover before it skins over.
- Back-buttering. Comb adhesive onto the substrate with a coarse-notched trowel and spread a thin layer on the back of each tile: that way no hollow-sounding voids are left.
- Bed each tile by hand. Press it down, slide it back and forth to flatten the ridges and level it with the straightedge, one at a time. No hammer or mallet: a single blow cracks the colour layer. Levelling systems are for fine adjustment, not for correcting a poor screed.
- Keep to the 1 to 2 mm joint. Use thin spacers or the blade of a putty knife: with no joint, expansion breaks the edges; with a wide joint, the rug effect is lost.
- Cut wet. A water-cooled diamond blade, used slowly; a diamond core bit for curves. A dry-cutting angle grinder chips the colour layer. Where edges meet in view, mitre them at 45°.
- Work in stages and wash with plenty of water. Remove adhesive residue with a damp sponge before it dries and keep off the floor until the adhesive has hardened; once it has set, clean the whole surface to remove the fine layer of pigmented dust the tiles carry from the factory, and let it dry before grouting.
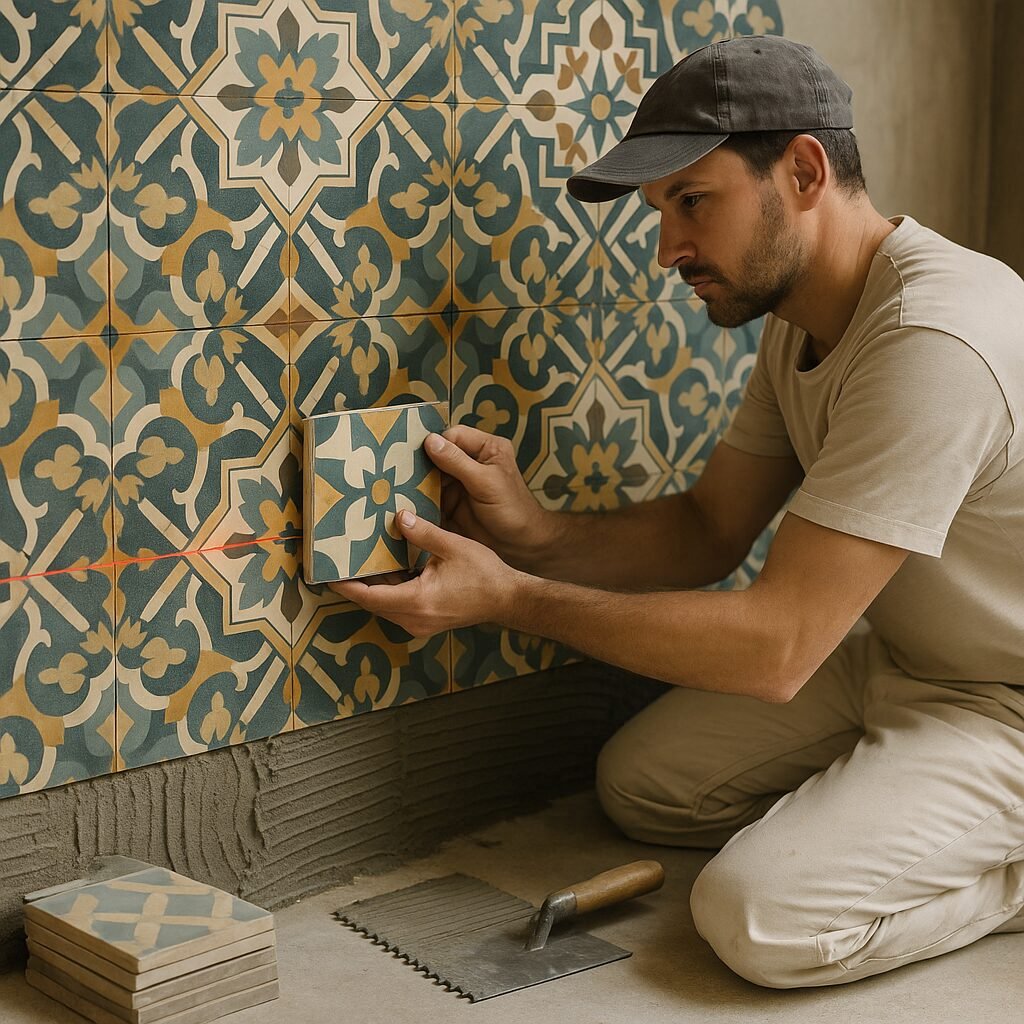
Setting out complex patterns, borders and medallions
A flawless patterned floor is won at the setting-out stage. If there is a feature motif, centre it on the main area — the entrance, the axis of the window — and work in quadrants so that the cuts fall at the perimeter. For medallions and demanding patterns, make foam-board templates, group the tiles into numbered modules and mark the backs in pencil, never with a felt-tip pen: with hexagonal tiles or the Chakar, a single rotated tile breaks the sequence and can be seen from the doorway. Finish the perimeter with a border or a plain frame that takes up the cuts, and use brass or aluminium profiles at transitions to wood or microcement.
How do you grout a cement tile floor without staining it?
With a fine, unpigmented cement-based grout (white or light grey), applied only inside the joint, removing the excess immediately, and always on clean, dry tiles.
At the workshop we apply a penetrating water- and oil-repellent (FOB XTREME, by FILA) before filling the joints: that way grout residue does not stick to the pigment layer, where it is hard to get off.
- Never use tinted grout: dark pigments leave irreversible stains on the face of the tile. You will find the details in which grout to choose according to the tile colour and its use.
- Epoxy grouts only if you know how to clean them off porous material; on a cement tile floor they almost never add anything.
- Fill with a spatula or a rubber float in small sections, without spreading the grout over the tile, and clean straight away with a damp sponge.
- No acid cleaners or muriatic acid to remove grout residue: they attack the cement on the face and leave it dull and rough.
Why do white stains appear after laying a cement tile floor?
It is efflorescence: salts that the construction moisture carries with it as it evaporates through the tile, left on the surface as a whitish haze. It is removed by washing with water and with time, not with acids.
The water in the screed or the tile adhesive has to come out somewhere, and in a porous floor it comes out through the face: that is why the pores are not sealed until the moisture has gone.
To remove it, wash with plenty of water and a soft scouring pad, let it dry and repeat: the deposits disappear with the washes before treatment. If cement or paint residue remains, use a soft Scotch-Brite-type pad or FILAPS87 degreaser diluted according to the manufacturer’s instructions. As long as new haze appears after washing, the floor is not dry and must not be sealed. And do not cover it with plastic, which causes condensation: protect it with cardboard.
When are cement tiles sealed, and with what?
Once the construction moisture has evaporated and the floor is clean: a penetrating water- and oil-repellent is applied in a thin coat and, if you like, a natural finishing wax. Sealing too early traps the moisture and leaves stains.
The final post-construction clean is done with water and neutral soap (soft soap, Marseille soap or similar), never with acids, bleach or ammonia. Then you have to wait until the tiles are completely dry, with an even shade and no new haze after washing: there is no fixed period, as it depends on the screed and the time of year.
The order of treatments is as follows:
- Anti-stain water- and oil-repellent (FOB XTREME) applied by brush in a thin, even coat: it stops organic substances from soaking in without altering the look of the material. If you already applied it before grouting, this is the second coat.
- Natural finishing wax (FILACLASSIC), optional: it gives a silky look and a little more protection against stains.
- Maintenance with water and neutral soap or a neutral cleaner (FILACLEANER); for stubborn stains, a soft scouring pad with FILAPS87 diluted 1:5. Never harsh, acid or alkaline cleaners.
Renew the water-repellent when water stops beading on the surface. The full routine is in the guide to cement tile floor maintenance and care and, in summary, in our laying and maintenance manual (PDF).
Can cement tiles be laid outdoors, in showers or over underfloor heating?
Yes, in all three cases, under certain conditions: outdoors, slip resistance and frost are what count; in showers, waterproofing and falls; over underfloor heating, a deformable adhesive and a gradual start-up of the heating.
Outdoors: slip resistance and frost
The Spanish Building Code (CTE), in its Basic Document DB-SUA 1, classifies floors by slip resistance (Rd value, pendulum test to the Spanish standard UNE 41901:2017 EX) and requires class 3 outdoors, in swimming pools and in showers: mandatory in buildings for public use and a sensible criterion in homes.
| Rd value (PTV) | Class | Locations that require this class |
|---|---|---|
| Rd ≤ 15 | 0 | Below the minimum class required |
| 15 < Rd ≤ 35 | 1 | Dry indoor areas with a slope < 6 % |
| 35 < Rd ≤ 45 | 2 | Dry indoor areas with a slope ≥ 6 % and stairs; wet indoor areas with a slope < 6 % |
| Rd > 45 | 3 | Wet indoor areas with a slope ≥ 6 % and stairs; outdoor areas, swimming pools and showers |
Our 20 × 20 cm hydraulic terrazzo reached a wet PTV of 59.5, class 3, according to report no. 4718. The pendulum needs a sliding area of 124 × 76 mm, so small tiles are tested once laid: check the reports and ask us about the model before you specify it. The other variable is frost, which expands the water in the pores and breaks the tile from within; in areas with frost, take extra care over falls, waterproofing and water-repellent treatment, as in these examples of cement tiles in courtyards and on terraces.
Bathrooms and showers
Cement tiles work well in bathrooms if the water has nowhere to sit: a continuous membrane under the adhesive, falls towards the drain, well-filled joints and a water-repellent kept up to date. In the shower, also check the slip class of the model; there are examples in showers with cement tiles.
Underfloor heating
The adhesive must be deformable (C2 S1 or S2) and movement joints are compulsory. The screed must have completed its heating cycle before laying, and the heating stays off during laying and grouting, to be started up gradually afterwards. The usual failures are covered in mistakes when installing cement tiles over underfloor heating.
What mistakes should you avoid when laying cement tiles?
Almost everything that goes wrong comes from moisture, haste or treating cement tile like porcelain:
- Laying on a damp screed or levelling layer: efflorescence guaranteed.
- Applying adhesive to the substrate only: voids, hollow-sounding tiles and breakages.
- Levelling with hammer blows, laying without a joint or with a wide one.
- Grouting with tinted cement, or cleaning with muriatic acid, bleach or ammonia.
- Sealing or waxing before the construction moisture has evaporated.
- Dry-cutting with an angle grinder and not allowing for the 2.5 cm of height or for wastage.
Frequently asked questions about laying cement tiles
Do you have to leave a joint between cement tiles?
Yes. The recommended joint is 1 to 2 mm: the minimum that absorbs the tolerances of a handmade tile and the expansion of the floor. Butt-jointed, any movement chips the edges; with wide joints, the pattern no longer reads as continuous. Also leave a perimeter joint under the skirting.
How long do you have to wait to grout, walk on and seal a cement tile floor?
It depends on the adhesive and on the moisture on site, not on a fixed number. Grout once the tile adhesive has set according to its data sheet, keep foot traffic off until the grout has hardened, and do not seal until the floor is dry, with no white haze after washing: that can take weeks.
Can cement tiles be laid over an existing floor?
Yes, if the old floor is sound, flat and has no hollow tiles. You need to degrease it, apply a bonding primer, use C2 S1 adhesive with back-buttering and check that the final height, about 2.5 cm more, does not create steps. If it moves or sounds hollow, it has to come up.
Can cement tiles be used on walls?
Yes: they are used for dados, kitchen splashbacks, wainscoting and headboards. Depending on the format, they weigh between 28 and 41 kg per m², so the wall must be sound and the adhesive must be reduced-slip (class T), applied with back-buttering. Lay from the bottom up and finish the edges with a mitre or a trim.
Can cement tiles be polished after laying?
Do not count on it to correct unevenness. The colour layer is only a few millimetres thick, and aggressive polishing cuts through it and exposes the grey base; that is why flatness is achieved in the screed and during laying. Very light polishing is done in restoration work, but it is a job for a specialist.
How many cement tiles do I need per square metre?
It depends on the format: 25 tiles of 20 × 20 cm, 16 of 25 × 25 cm, 45 of 15 × 15 cm, 29 hexagonal tiles of 23 × 20 cm or 50 rectangular tiles of 20 × 10 cm. Measure each surface, add 5–10 % for wastage and order all the material at once so that it comes from the same production run.
If you are unsure about a format, a pattern or the order of treatments, write to us or come and see it at our Seville showroom by appointment. Choose your model in the cement tile catalogue and ask for samples before you decide.