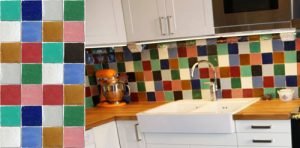
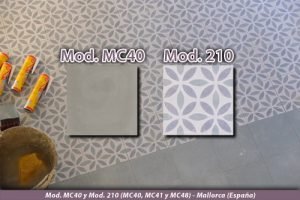
Cement tile stairs are clad piece by piece: tread, riser and, if the flight calls for it, a trim on the nosing. They are tiled in the same formats as floors — usually 20×20 or 25×25 cm — and work indoors and outdoors, provided the underlying steps are sound and square, the tile meets the slip resistance class required by the Spanish Building Code (CTE) and it is sealed before grouting.
This article is based on a project we supplied in Seville: a flight in plain tiles alternating four greys, with a Mod. 193 tile rug on each landing. Using those photos, we go through what needs deciding before you order material.

Can cement tiles be laid on stairs?
Yes. A cement tile, also known as a hydraulic tile, is cold-pressed concrete — it is not fired, it sets — and it is laid on stairs just as on a floor, except that each step needs its own setting-out. Before you order, there are three constraints to bear in mind:
- Thickness. The square formats are 1.5 or 1.8 cm thick. With the adhesive, each face of the step builds up by 2 to 2.5 cm: that changes the heights along the flight.
- Edge. The colour layer is only a few millimetres thick, with grey mortar underneath. If the edge is bevelled or rounded, that mortar is exposed, so the nosing has to be finished another way.
- Porosity. It is a porous material that has to be sealed. Without a water-repellent, a staircase in daily use shows wear much sooner.
The guide to laying cement tiles covers the substrate and grouting on flat floors; here is what changes once you start going up.
What dimensions should the step have before you choose a format?
The step dimensions are not decided by the tile: they are set by Basic Document DB-SUA 1 of the Spanish Building Code (Código Técnico de la Edificación), and they determine how many tiles fit on each tread.
| Step parameter | Private use (dwelling) | Public use and communal areas |
|---|---|---|
| Tread depth on a straight flight | 28 cm minimum | 28 cm minimum |
| Riser height | Between 13 and 18.5 cm | Between 13 and 17.5 cm |
| 2 × riser + tread rule | Between 54 and 70 cm | Between 54 and 70 cm |
| Restricted-use stairs | Tread ≥ 22 cm and riser ≤ 20 cm | Not applicable |
One rule that is often forgotten in renovations: every step in the same flight must have the same riser height. The full text is in the Safety in Use and Accessibility section of the CTE.
Tiling over an existing staircase without breaking it up
It can be done, but you need to do the sums. When the treads are clad, every step goes up by the same amount, so the risers in between do not change; the ones at each end do: the first step gains the thickness of the tile in height and the last one loses it, because the floor above is not raised. That makes a difference of about 2 cm at the bottom and at the top of the flight.
The tiled riser also eats into the depth of the tread: if the original step measures exactly 28 cm, it may fall short once clad. The usual answer is to let the tread tile overhang.
Which cement tile format works best on each step?
For a tread of 28 to 30 cm, the formats that work best are the 20×20 cm square (ref. H03) and the 25×25 cm one (ref. H02). Neither covers the tread in one go, so there is always a main tile and a cut piece, which goes at the back, against the riser, where it cannot be seen.
| Format | Ref. | Size | Weight per tile | Pieces per m² | Tiles per metre of step |
|---|---|---|---|---|---|
| Square | H02 | 25 × 25 × 1.8 cm | 2.30 kg | 16 pcs | 4 tiles |
| Square | H03 | 20 × 20 × 1.5 cm | 1.30 kg | 25 pcs | 5 tiles |
| Square | H04 | 15 × 15 × 1.5 cm | 0.79 kg | 45 pcs | 6 tiles + cut piece |
| Rectangular | H13 | 20 × 10 × 1.5 cm | 0.62 kg | 50 pcs | 10 tiles (10 cm side at the front) |
The last column is a count for a step with a clear width of 1.00 m, with no joints or side cuts. With the 20×20, each step takes 5 tread tiles, 5 riser tiles and the cut piece at the back: about 14 kg of tiles per step, a useful figure when assessing the load on an old staircase. The whole range, with weights and quantities, is in the cement tile formats table.
The stepped skirting runs along the wall. In the cement tile skirting catalogue, the plain 20×10 cm skirting (HR01) works out at 5 pieces per linear metre and the 20×20 cm one (HR02) at 3; there are also ogee and relief versions.
How to finish the edge of the step
- The tile’s own edge. The tread overhangs the riser and its edge is left exposed. It is the most understated option, and the one used in the project on this page.
- Timber nosing. A solid timber strip caps the front edge, protects the edge of the tile and makes up the depth the tread lacks.
- Metal profile. An L-shaped brass or stainless steel profile, bedded in the adhesive. The toughest option for heavy use.
There is no bullnose step tile in our format table: if your project needs one, ask the workshop.
What slip resistance class does the CTE require on stairs?
A staircase never stays at class 1: DB-SUA 1 raises the requirement one step above the floor of the same room.
| Where the staircase is | Class required | Rd value (pendulum, Spanish standard UNE 41901:2017 EX) |
|---|---|---|
| Indoors, dry area | Class 2 | 35 < Rd ≤ 45 |
| Indoors, wet area: entrance halls, bathrooms, kitchens | Class 3 | Rd > 45 |
| Outdoors, swimming pools and showers | Class 3 | Rd > 45 |
From our own data: our 20×20 cm hydraulic terrazzo reached a PTV of 59.5 in the wet pendulum test at 20 °C, with individual values from 55 to 60, which puts it in class 3, the top of the scale. It is recorded in report no. 4718. Cement tiles have their own report, no. 9102, on a 200 × 200 × 15 mm format, with UNE-EN 1339 (the Spanish edition of EN 1339) as the reference standard. We publish the full reports on our laboratory tests page: if you need the Rd value of a particular model, write to us and we will arrange it.
How do you lay cement tiles on stairs, step by step?
- Check the underlying steps. Square edges, equal risers and a sound, clean substrate with no traces of release agent.
- Set out dry. Dry-lay the tiles for a whole step and mark the layout before fixing anything. With patterned tiles, the setting-out decides where the motif falls.
- Dampen the tiles. Cement tiles draw water out of the adhesive: dip them for a few seconds and leave them to air-dry until the surface sheen has gone.
- Back-buttering. Improved C2 TE cementitious adhesive on both the step and the back of the tile (double spreading), so that no voids are left under the tread. On a steel structure, a deformable cementitious adhesive.
- Lay from the top down, starting with the tread and the corners; then the side skirting and, finally, the riser.
- Leave a joint of at least 1.5 mm. Cement tiles are handmade and have dimensional tolerances; butt-jointed, every millimetre adds up and throws the flight out of square.
- Seal before grouting. An anti-stain sealer on the dry tile stops the grout from staining the colour layer. This step is not optional.
- Grout with a CG2 cement-based grout: light for light patterns, grey or black for chequerboards and dark single colours. Wipe off the haze with a damp sponge before it hardens.
- Wait 72 hours with no foot traffic and protect the flight for as long as work is still going on upstairs.
The mistakes we have most often seen being put right on stairs:
- Grouting without sealing: the grey grout gets into the pores and leaves a permanent halo around each tile.
- Cleaning up after the works with muriatic acid or acid descalers, which attack the cement and eat away the colour layer.
- Laying butt-jointed and finding halfway up the flight that the layout no longer works.
- Applying adhesive to the substrate only: voids are left under the tread and the tile breaks at the edge with use.
How was the Mod. 193 and plain tile staircase designed?
The division of roles is simple: the colour is concentrated on the landings and the stairs are kept calm. The flight is entirely in plain 20×20 cm tiles, treads and risers, alternating four greys: MC48, MC47, MC43 and MC40. With the bands lined up from tread to riser, each step reads as a continuous stripe and the flight looks wider.

On each landing the register changes: a Mod. 193 rug in 20×20 cm, with a floral pattern in reddish and grey tones on a white ground, framed by a border of plain tiles. The skirting, also 20×20 cm, accompanies the stairs along the wall.

It is the device we explain in our article on cement tile rugs, carried over to the vertical: flat colour where people walk and pattern where the eye comes to rest. The four greys come from the MC1–MC49 colour chart.
What other combinations work on a staircase?
Four schemes come up again and again and work for almost any flight, depending on how much pattern the stairwell can take and where the stairs are seen from.
Patterned tread and single-colour riser
The pattern is seen as you climb and the flat colour acts as a base. A timber nosing protects the edge and makes up the missing tread depth.

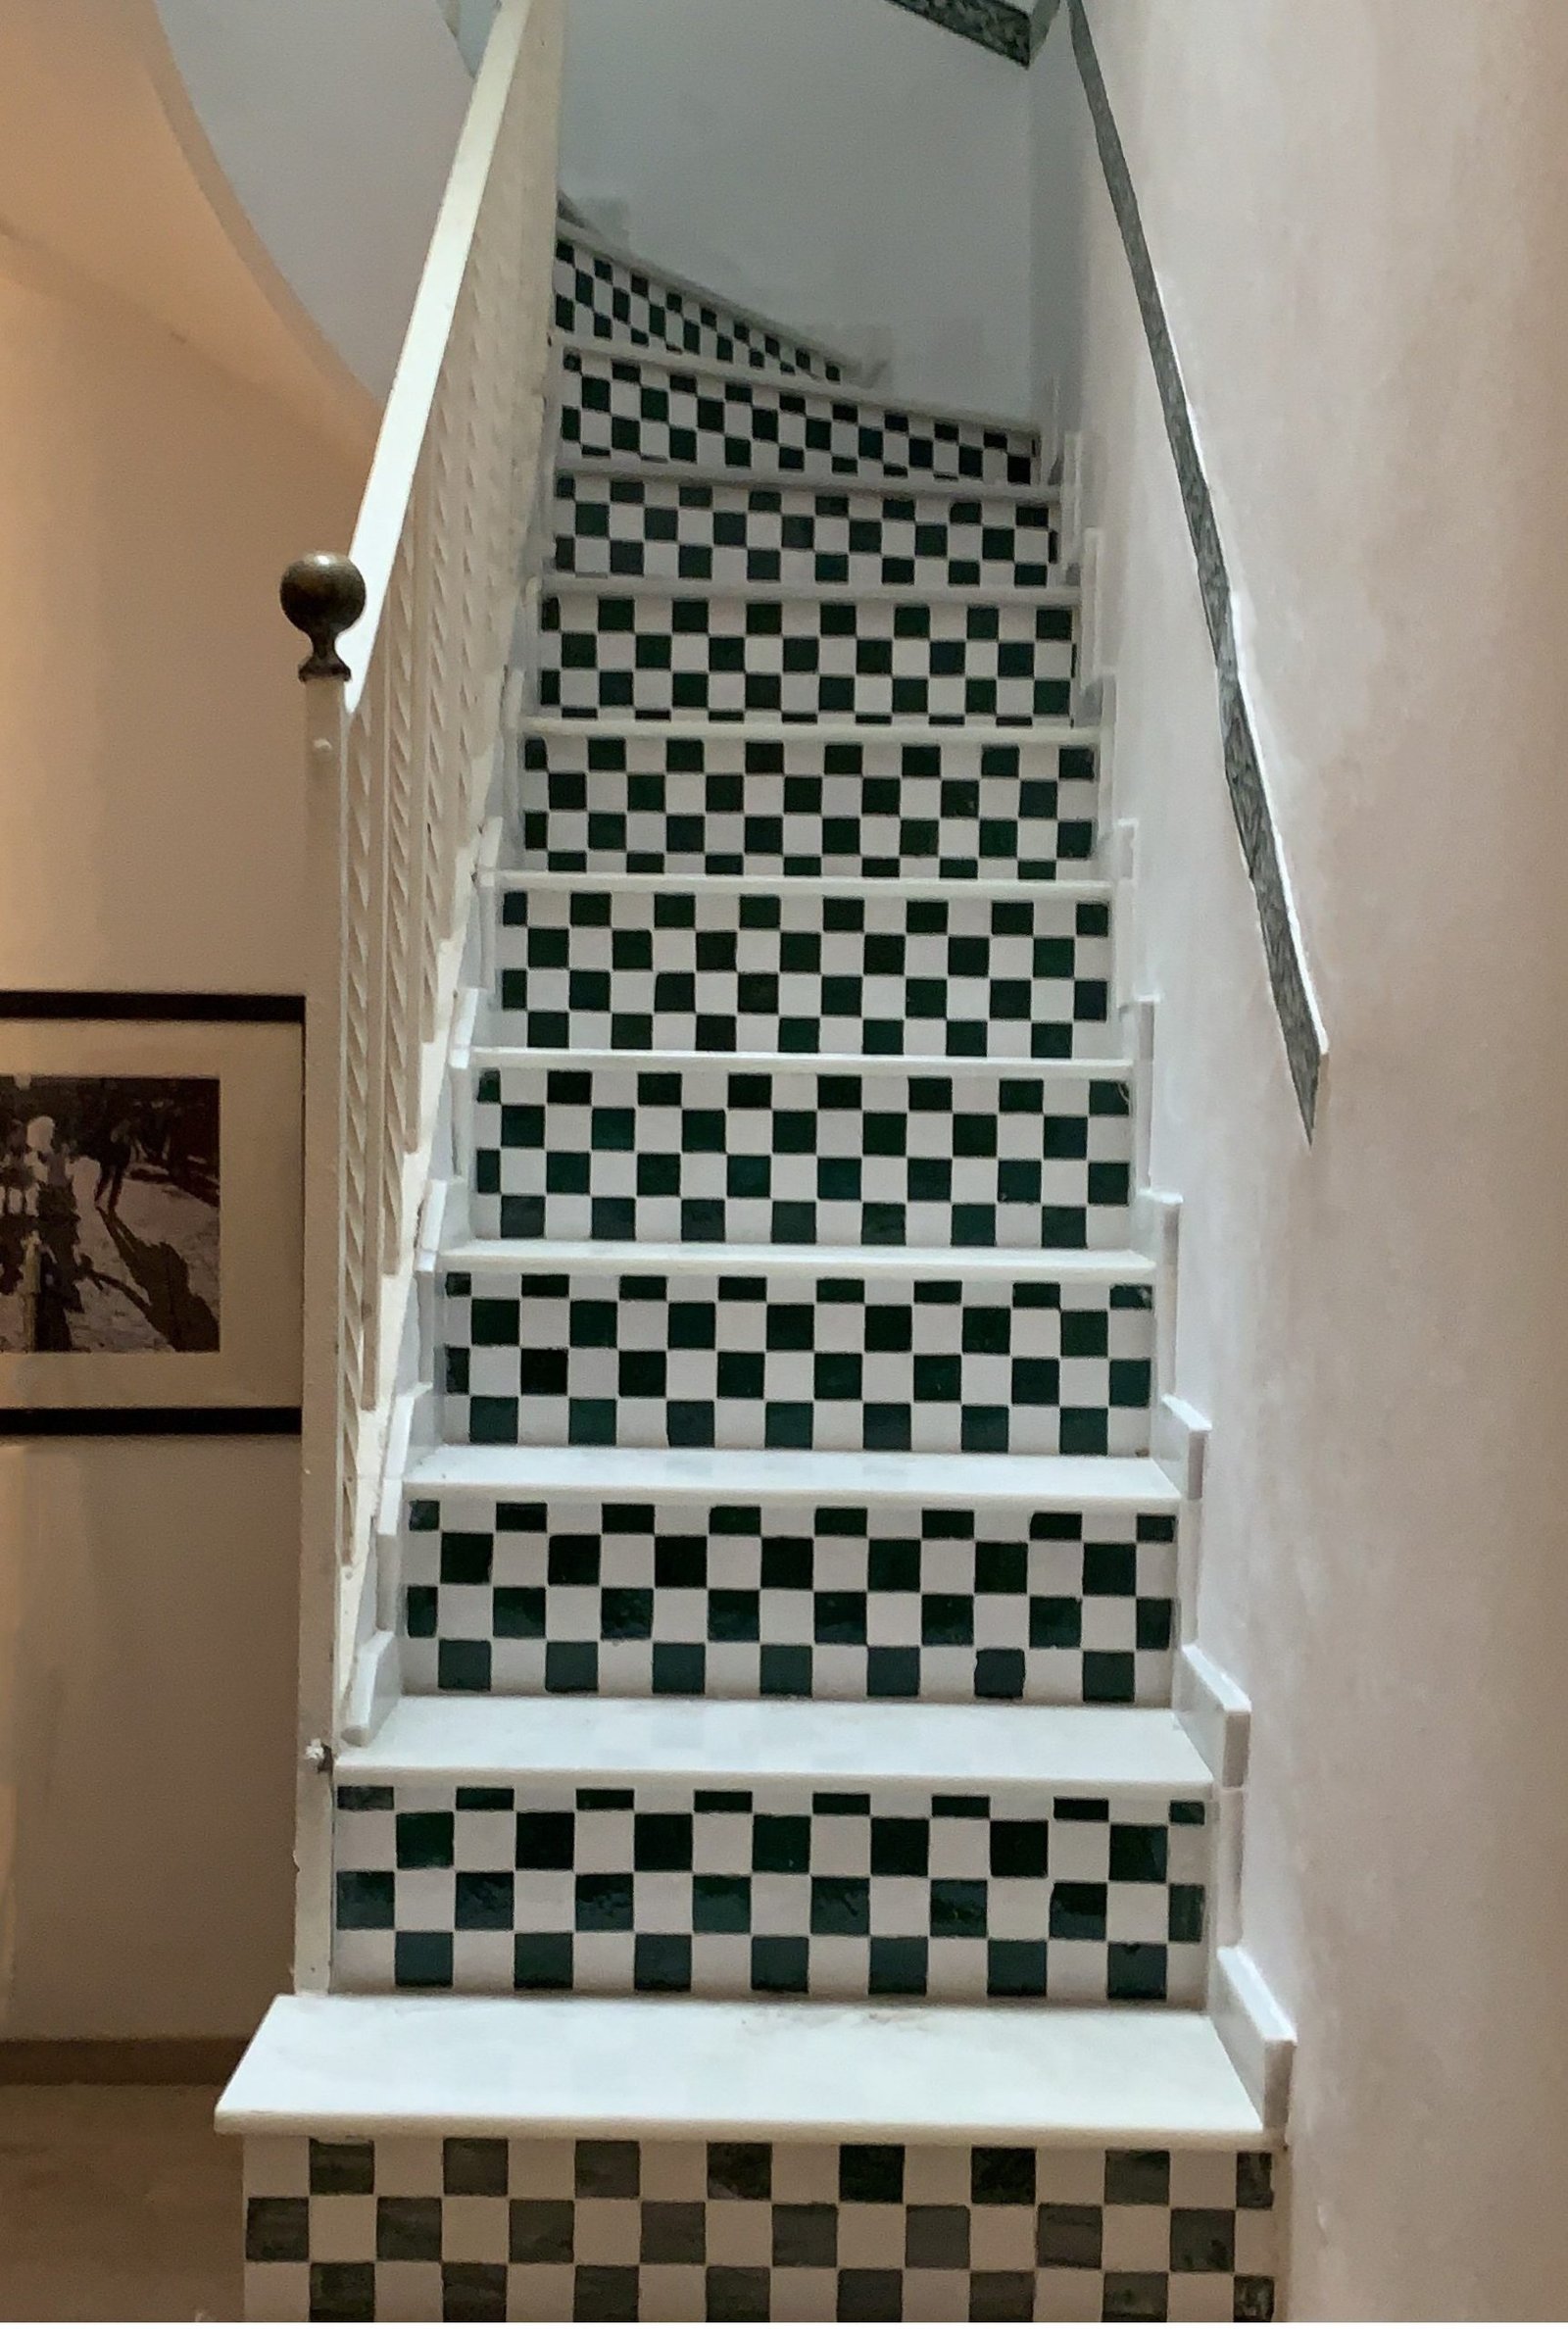
Decorated riser and plain tread
The opposite approach: the colour appears when you look at the stairs head-on and disappears as you climb them. It is the option to choose when the treads are stone and only the vertical part, which nobody walks on, is being redone. In the photo the chequerboard is glazed tile; with 10×10 cm single-colour cement tiles (ref. H06) the effect is the same in a matt finish.
Patchwork, one step at a time
Each step has a different model. It works on spiral staircases or stairs with winders, where the layout is already irregular and a continuous pattern would break up. The nosing brings order to the whole.

Single colours in alternating shades
Several shades from the same family, alternating tile by tile, in aligned bands or mixed at random. It is the simple version of the gradient effect and the one that suits narrow stairwells best: the colour moves and the flight does not read as so long.

They all come from the same catalogue of cement tiles made in our own workshop. For courtyard or terrace stairs, it is worth reading what we say about cement tiles in courtyards and on terraces first: frost and water change the rules for sealing.
How do you look after a cement tile staircase?
Like any cement tile floor, but more often: a staircase concentrates foot traffic on a narrow strip, so it wears faster.
- Water-repellent from day one and regular renewal, especially on the strip where people tread.
- Water and pH-neutral soap. Never muriatic acid, ammonia, bleach or descalers: acid dissolves cement.
- No steam cleaning or soaking-wet mops: water trapped in the joints comes out as white efflorescence.
- A doormat at the foot of the stairs if they lead in from outside: sand on shoe soles acts like sandpaper.
Products, timings and resealing are covered in the guide to cement tile floor maintenance and care.
Frequently asked questions about cement tile stairs
Can cement tiles be used on outdoor stairs?
Yes, and it is a traditional use in Andalusian courtyards and entrance halls. Two things need care: the slip resistance class, which the CTE sets at class 3 (Rd greater than 45) for any outdoor staircase, and the water-repellent, because water held in the pores expands when it freezes and breaks the tile from within. In areas with frost, talk to us before specifying.
How many cement tiles do I need for a staircase?
With the 20×20 cm format and steps one metre wide, each step takes 5 tread tiles, 5 riser tiles and a cut piece at the back. A flight of 15 steps comes to around 165 tiles, about 6.6 m², plus the side skirting. Add 10% for cutting waste and future replacements.
Are cement tiles non-slip?
Their natural finish is matt and slightly rough, but the figure that counts is the pendulum Rd value, not how they feel to the touch. Our 20×20 cm hydraulic terrazzo gave a wet PTV of 59.5, class 3, according to report 4718. For a specific cement tile model, ask us for the report before you justify the item in the bill of quantities.
Can I tile over an old staircase without breaking up the steps?
In many cases, yes, provided the substrate is sound and the risers are all equal. Bear in mind that the first step gains about 2 cm in height and the last one loses it, and that the tiled riser takes depth away from the tread. If the original step measures exactly 28 cm, the tile has to overhang or the flight has to be set out again.
What goes on the edge of the step?
Three options: leave the tile’s own edge exposed, finish with a timber nosing or fit an L-shaped metal profile. Cement tiles are not rounded off, because the colour layer is only a few millimetres thick and bevelling it exposes the grey mortar inside. There is no specific bullnose step tile in our list of formats.
Can cement tiles be used on the risers only?
It is one of the combinations that work best, especially if the tread is stone, marble or wood and you would rather not touch it. Risers are not walked on: wear is minimal and maintenance is much reduced. It also lets you bring in pattern without compromising slip resistance where people tread.
With the flight measured and a photo, we can tell you which format fits and how many tiles you need. Browse the models in our cement tile catalogue or ask us for samples through the contact page.