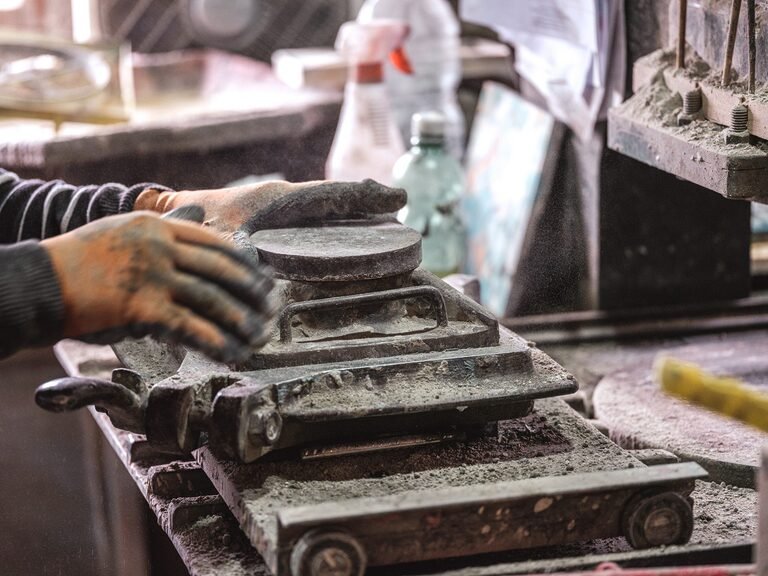
Cement tiles are made cold, piece by piece: the craftsman pours coloured mixes of white cement, marble powder and pigments into the cells of a metal template called a divider, adds a drying layer and then a layer of mortar, presses the whole in a hydraulic press and leaves the tile to cure with water for weeks. It is not fired: it is cement that sets.
At Demosaica we make hydraulic tiles in our workshop in Seville using that same process. Here are the materials, the divider, the ten steps, the press and the curing.
What is a cement tile made of?
A cement tile is pressed cement in three layers: a face layer of white cement, marble powder and mineral pigments; a drying layer of cement and fine sand applied dry; and a base layer of grey cement and sand mortar. It contains no clay and no glaze, and it never goes into a kiln.
The materials are few:
- White cement in the face layer, which does not muddy the colour, and grey in the base.
- Marble powder, which hardens the surface and allows it to be polished.
- Washed silica sand, as the aggregate of the drying layer and the base.
- Mineral pigments: iron oxides for reds, ochres and blacks; chromium for greens; cobalt for blues; titanium for white. They withstand the alkalinity of cement and the light, which an organic pigment would not.
- Water and a release agent, to give the paste consistency and free the piece from the mould.
Those oxides make up the 49 shades of the hydraulic tile colour chart, from MC1 to MC49.
| Layer | Composition | Approximate thickness | Function |
|---|---|---|---|
| Face layer (colour) | White cement, marble powder, pigments and water | 4–5 mm | Pattern and colour; the face that is walked on and polished |
| Drying layer | Cement and fine sand mixed dry | A few millimetres | Absorbs the excess water from the colour and binds it to the base |
| Base layer | Semi-dry mortar of grey cement and sand | Up to a total of 1.5–1.8 cm | Gives body and grip for the laying mortar |
Thickness depends on the format: 1.5 cm on 20 × 20 cm pieces and 1.8 cm on 25 × 25 cm ones. Dimensions, weights and units per m² are in the hydraulic tile format table.
What is the divider and what does a cement tile mould look like?
The divider is the metal template that draws the design: a lattice of brass, bronze or steel strips forming watertight cells, one per colour. The mould is the assembly that holds it: a flat base, a frame with the exact dimensions of the tile and a lid that takes the pressure.
Every design needs its own divider and every format its own mould. They used to be soldered by blacksmiths strip by strip over a scale drawing; today hand-soldered dividers coexist with laser-cut and CNC ones. Their walls must be thin, so the colours meet without mixing when the divider is lifted, and rigid, so they do not deform with daily cleaning. A divider can be repaired, lasts decades and serves for endless colour combinations.
Can a divider be made for your own design?
Yes, from a vector drawing, on three conditions: closed cells, strokes wide enough for the paste to fill them and for the piece to release whole, and a design conceived for the meeting between tiles, allowing for the joint. Ask the workshop about lead times and minimum orders.
Which formats are made?
Those that have a mould: squares, rectangles, hexagons, octagons with insert tiles, skirtings and special pieces such as the Chakar hydraulic tile. Weight matters when calculating transport and loading:
| Format | Ref. | Dimensions | Weight per piece | Units per m² |
|---|---|---|---|---|
| Square | H03 | 20 × 20 × 1.5 cm | 1.30 kg | 25 |
| Square | H02 | 25 × 25 × 1.8 cm | 2.30 kg | 16 |
| Hexagonal | H22 | 23 × 20 × 1.5 cm | 1.16 kg | 29 |
| Octagonal | H31 | 20 × 20 × 1.5 cm | 1.14 kg | 25 |
| Insert tile | H07 | 7 × 7 × 1.5 cm | 0.25 kg | 205 |
| Chakar | H61 | 20 × 17 × 1.5 cm | 0.58 kg | 50 |
How are cement tiles made, step by step?
Ten steps, and one single person makes the whole piece. From the clean mould to leaving the press takes minutes; the curing takes weeks.
- Design and divider. The model and the colour of each area are chosen. Changing colours does not require a new divider; changing the pattern does.
- Preparing the colours. Every day the pastes of white cement, marble, pigment and water are mixed: too runny and they stain the neighbouring cell; too dry and they do not fill the corners.
- Cleaning and assembling the mould. Any dried residue marks the face: mould and divider are cleaned, release agent is applied and the divider is fitted into the frame.
- Filling the divider. With a squeeze bottle each colour is poured into its cell, up to the level of the divider. It is the slowest step and it decides how sharp the pattern will be.
- Lifting the divider. It is raised slowly and vertically: the colours meet and the pattern is formed on the wet paste.
- Drying layer. The dry mix of cement and fine sand is sprinkled on, absorbing the excess water from the colour; without it, the face layer would crack.
- Base layer. The rest of the frame is filled with semi-dry mortar of grey cement and sand, and the mould is closed with the lid.
- Pressing. The mould goes into the press for a few seconds: the three layers are compacted into one and the water from the colour migrates into the dry layers.
- Demoulding. The frame is opened and the tile, still soft, is released by its edges without touching the face.
- Curing. The following day it is wetted, by immersion or watering, and goes on curing in a humid environment. It is then sorted by shade and packed.
What does the hydraulic press do, and why is no kiln needed?
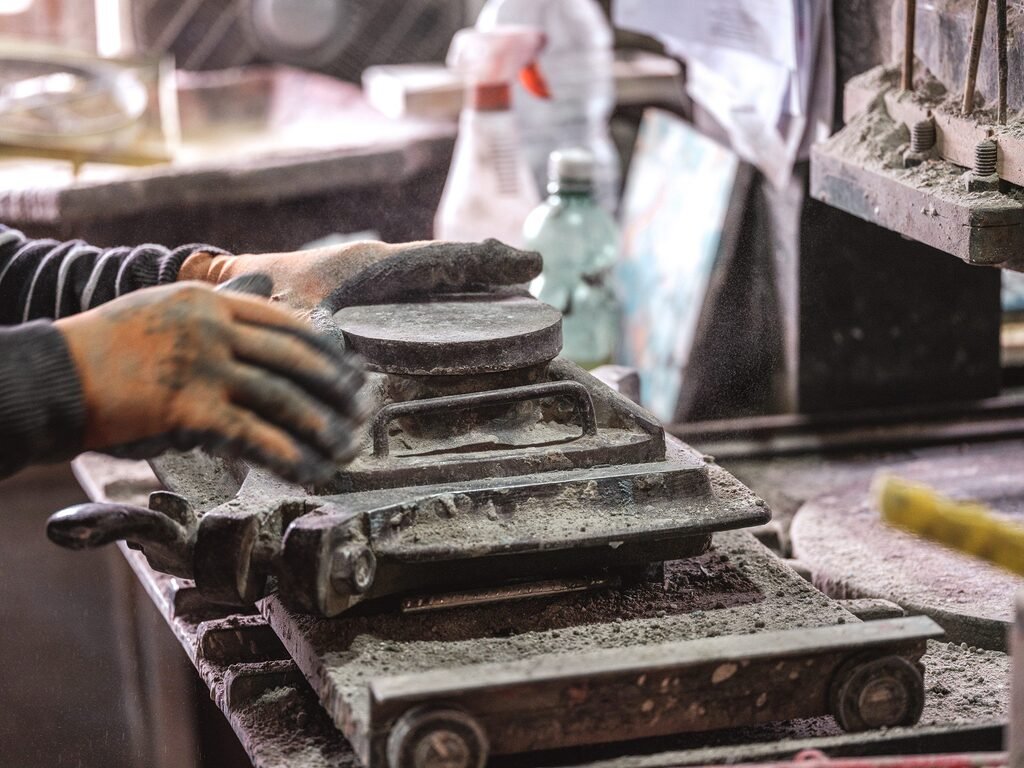
The press compacts the three layers into one and forces the water from the colour into the dry layers. From there the cement sets by reacting with water, without heat: the cement tile is not fired, and the standards treat it as a concrete paving unit, not a ceramic.
Pressure decides density. A well-pressed piece is compact, with no pores on the face, and stands up to wear; a badly pressed one absorbs water, flakes and loses its pattern with foot traffic. Manual presses, worked by pump and lever, coexist with motorised presses at constant pressure.
How long does a cement tile take to cure?
Initial setting happens within hours, but cement reaches its reference strength at 28 days, the age used by the concrete standards. The piece cures in the shade and in a humid environment: drying it in the sun or in a draught takes away the water it needs to harden.
Stock models are supplied already cured; if the order is made to measure, ask about the lead time, because the curing adds to the workshop time.
How can you tell whether a cement tile is well made?
You can see it in the face and in the edges: a sharp pattern with no colour bleeding, a surface free of pores and bubbles, straight edges, uniform thickness and no cracks. And it is demonstrated by testing to UNE-EN 1339, the standard for concrete paving units.
- The pattern: clean lines and complete corners. A slight waver in the stroke belongs to the divider; a stain outside a cell does not.
- The face: free of pores, bubbles or visible sand — the signs of poor pressing.
- Edges and reverse: straight, without chips, with the base bonded to the colour.
- Dimensions and shade: the same side and thickness across all pieces, with gentle variations of tone, which are spread out by mixing boxes when laying.
Our hydraulic tile is tested to UNE-EN 1339:2004 (report no. 9102, sample taken on 28/05/2024, format 200 × 200 × 15 mm) at Elabora, a laboratory listed in the Register of Testing Laboratories of the Regional Government of Andalusia (AND-L-155). The 20 × 20 cm hydraulic terrazzo, pressed in the same way, reached a PTV of 59.5 with the wet pendulum — class 3, the highest of the Spanish Technical Building Code DB-SUA 1, the one required outdoors, in pools and in showers; report no. 4718 — and an absorption of 5.9 to 6.2 % to UNE-EN 13748-1.
How does a cement tile differ from zellige or from a ceramic tile?
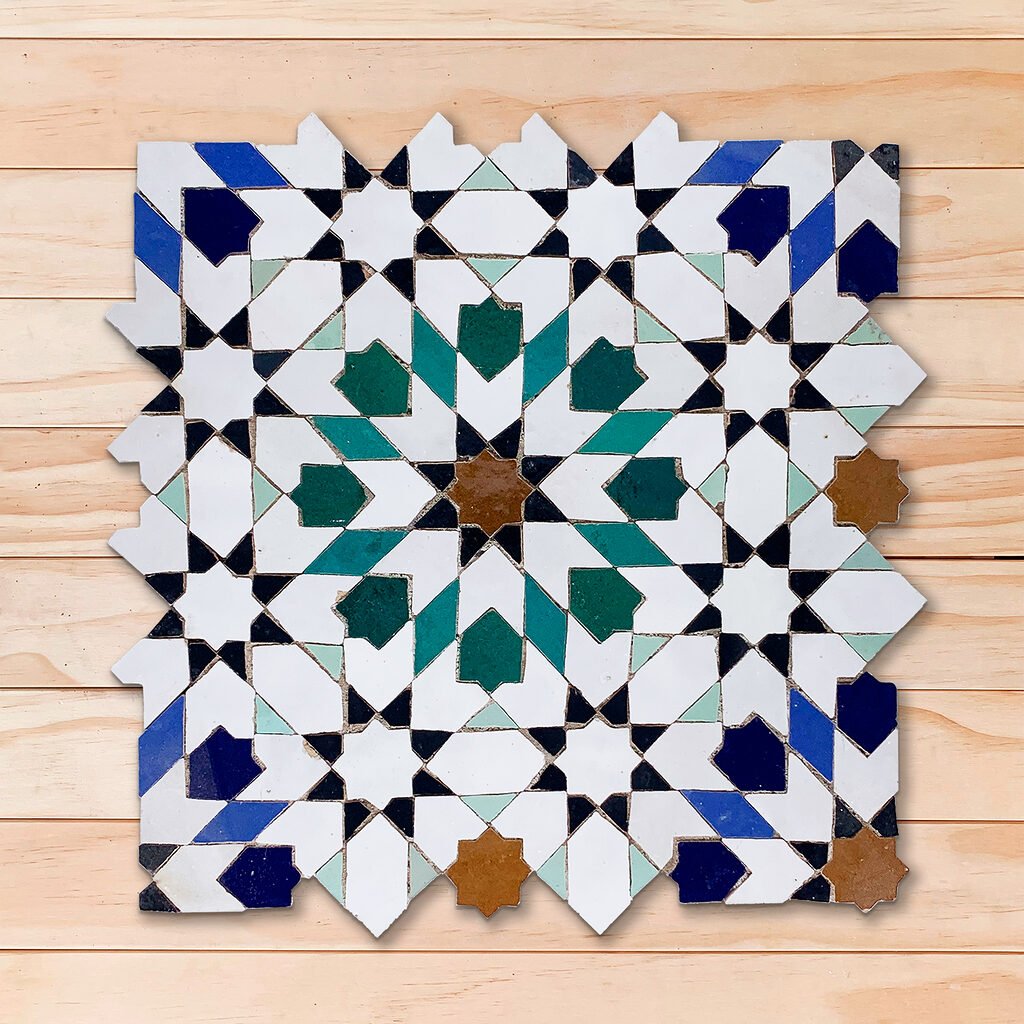
In that the cement tile is not fired: it is cement pressed cold. Zellige is fired clay, glazed and cut by hand, and the ceramic tile is clay pressed or extruded and fired at over 1,000 °C. The process, the testing standard and the behaviour towards water all change.
| Material | How it is made | Testing standard | Measured water absorption |
|---|---|---|---|
| Cement tile and hydraulic terrazzo | Cement, marble and pigments pressed cold, without firing | UNE-EN 1339 (terrazzo, also UNE-EN 13748-1/2) | Terrazzo 20 × 20 cm: 5.9 – 6.2 % |
| Zellige | Fired clay, glazed, refired and cut by hand | UNE-EN ISO 10545 and UNE-EN 14411 | Zellige 10 × 10 cm: 15.7 % |
| Terracotta clay | Fired clay without glaze | UNE-EN ISO 10545 and UNE-EN 14411 | Clay 15 × 5 cm: 16.9 % |
| Porcelain stoneware (reference) | Pressed and fired at high temperature | UNE-EN ISO 10545 and UNE-EN 14411 | Below 0.5 % |
The coefficients come from our own test reports, except the one for porcelain, which is given as a reference. Zellige and terracotta are porous and are always sealed; pressed cement absorbs considerably less and is sealed against staining.
The confusion comes from both being called “mosaic”: they share the idea of drawing floors and walls with small pieces, but not the material.
Can cement tiles be made at home?
You can make a decorative piece with white cement, a mould and pigments, but not a tile to walk on. Without a hydraulic press there is no compaction, and without compaction the colour layer comes away, the piece absorbs water and it breaks in use.
At home you lack the pressure that bonds the colour to the base, the measured drying layer, the weeks of humid curing and the tolerances that allow laying with a fine joint. For a tabletop it will do; for a floor, a countertop or a staircase, it is better to start from pieces that have been pressed and cured.
What has changed in cement tile production, and why have they come back?
The process is the same as in the nineteenth century: divider, three layers, press and curing with water. What has changed are the tools around it: digital design before cutting the divider, laser-cut and CNC dividers, more stable inorganic pigments, motorised presses at constant pressure, testing to European standards to justify the material on site, and sealers that protect without closing the pore.
Why people speak of a cement tile revival
It came back with the restoration of old housing, where original floors have to be replaced, and with an interior design scene looking for a pattern of its own. The first references date from the mid-nineteenth century, in the south of France, and the Paris Universal Exhibition of 1867 spread it across Europe; in Spain, Catalonia and Valencia concentrated the great factories, until in the sixties and seventies terrazzo and industrial ceramics displaced it. We tell it in the history of the cement tile.
The fact that the piece is pressed cold and never goes through a kiln also changes its environmental balance: consumption, waste and service life are another matter, covered separately.
Frequently asked questions about cement tile production
Are hydraulic tiles and cement tiles the same thing?
Yes. Cement tile, hydraulic mosaic, encaustic cement tile and hydraulic floor all name the same product: pigmented cement, pressed cold and cured with water. A different thing is the ceramic tile with a hydraulic-style pattern: fired clay with the motif printed or glazed on, which is tested to a different standard.
Why is it called “hydraulic” if it contains no water?
It does contain water, but in the making: cement is a hydraulic binder, it hardens by reacting with water rather than by firing, and the piece is compacted in a hydraulic press. Both explanations are true: it is made with water and pressure, not with fire.
How long does it take to make a cement tile?
Filling, pressing and demoulding a piece takes a few minutes, depending on the pattern and the number of colours. What sets the lead time is the curing: cement needs weeks to reach site at full strength. Ask the workshop for the lead time; stock pieces are supplied already cured.
Why are there differences in shade between pieces of the same model?
Because each piece is filled and pressed separately, and the shade depends on the moisture of the paste, the pressure and each day’s curing. It is a gentle variation, more visible on single-colour models; mixing boxes when laying spreads it across the whole floor.
What is the white bloom that appears on new cement tiles?
It is efflorescence: salts from the cement that water carries to the surface while the piece cures or after it has been laid and grouted. It forms a whitish veil and is not a manufacturing defect. It is removed by mechanical cleaning and neutral products, never with acids, which attack the cement.
Where are Demosaica’s cement tiles made?
In our workshop in Seville, at calle Arquitectura 5 (Torre 8, unit 18), where the showroom is too, visited by appointment. We make the catalogue pieces and bespoke designs, and we keep a selection of models in stock. We export to France, Italy, Germany and Finland, among other countries.
From the workshop to the floor: the hydraulic tile catalogue holds the models and their colours, and hydraulic tiles in stock the pieces already cured. Ask for samples or visit the Seville showroom by appointment.